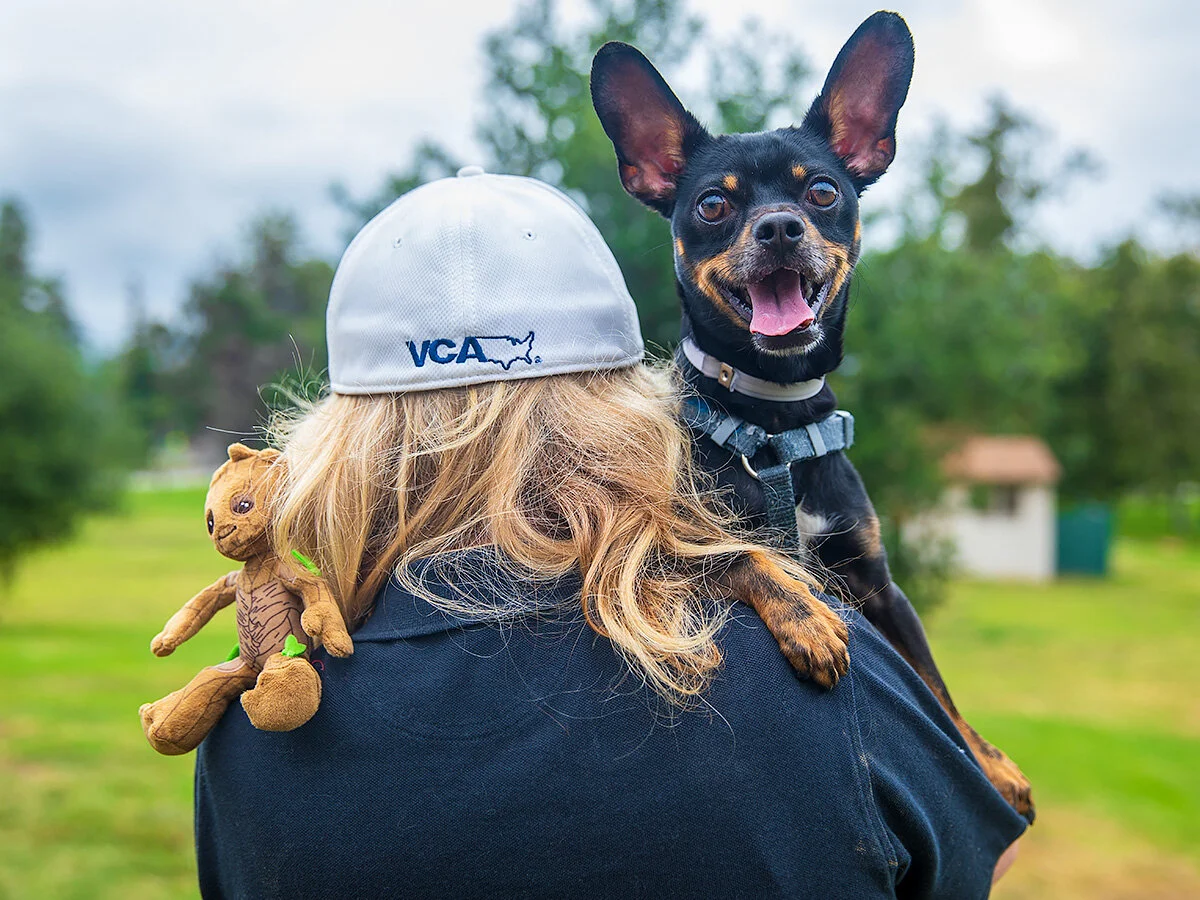
Post #4 - Webinar clip: shoot at the animal's eye level
/
Blue and the Wiggle Waggle Waggin
As I discussed in the webinar, this is the #1 tip for better animal photography. If you do nothing else, do this: get do the animal’s eye level.
Like all “rules,” it’s not really a rule. There are all sorts of reasons the best photo in a particular circumstance might be taken from a high or low angle. But if you get into this habit as your default, most of your animal photos will look better and be more engaging.
Below is the 30-second clip on shooting at an animal’s eye level that I used in my webinar, for those who missed it. Below that are the sample photos.
As you look at these three images, think about how each makes you feel. How connected to the dog do you feel? What do you think about the dog, and what do you think of his emotional state in each shot? Which one(s) feel more dynamic and interesting to you? All three photos are valid choices. But do you prefer one over the others? Why? Obviously the dog’s expression and body language aren’t identical in each, so that’s a factor… but not the primary factor.
Below those photos are the three other comparison photos I used. Go back and forth through those, too, and think about the same questions.
Tip: don’t wear your Sunday finest when shooting. You’ll be getting on the ground.
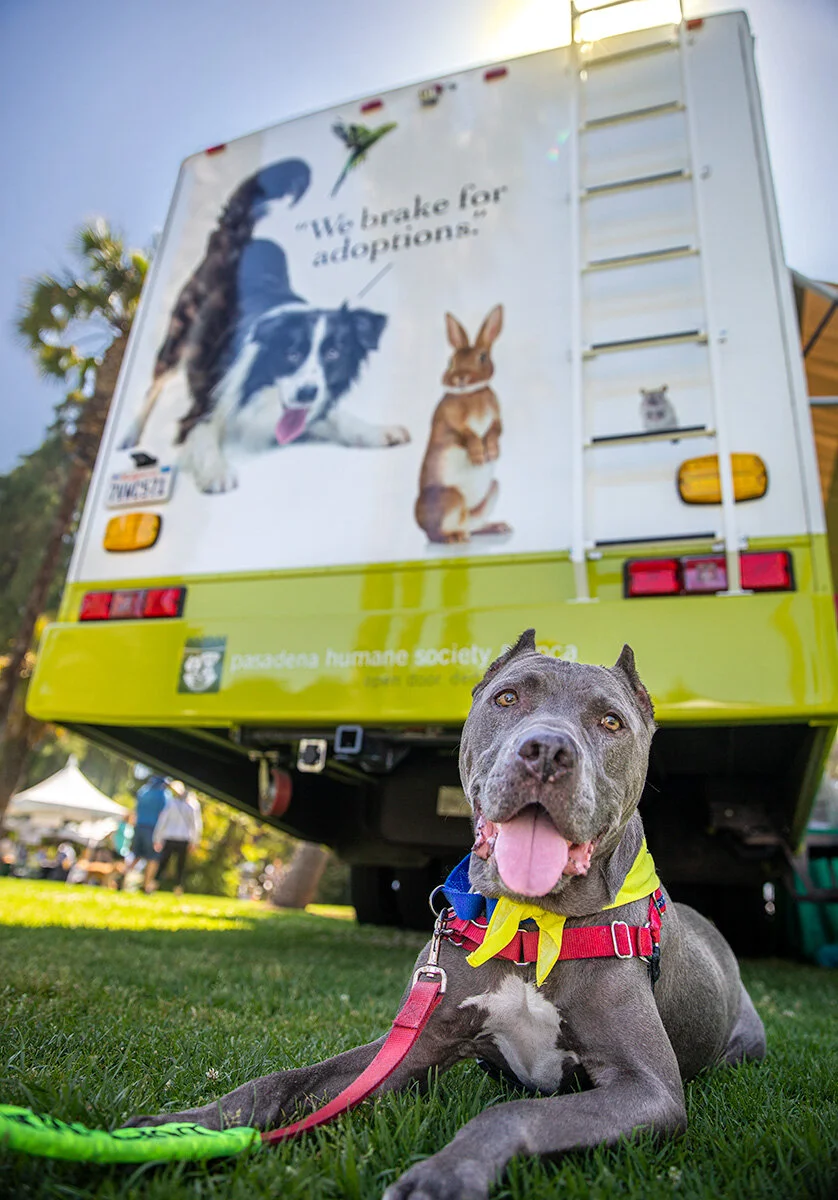
1. Shot at high angle (standing)
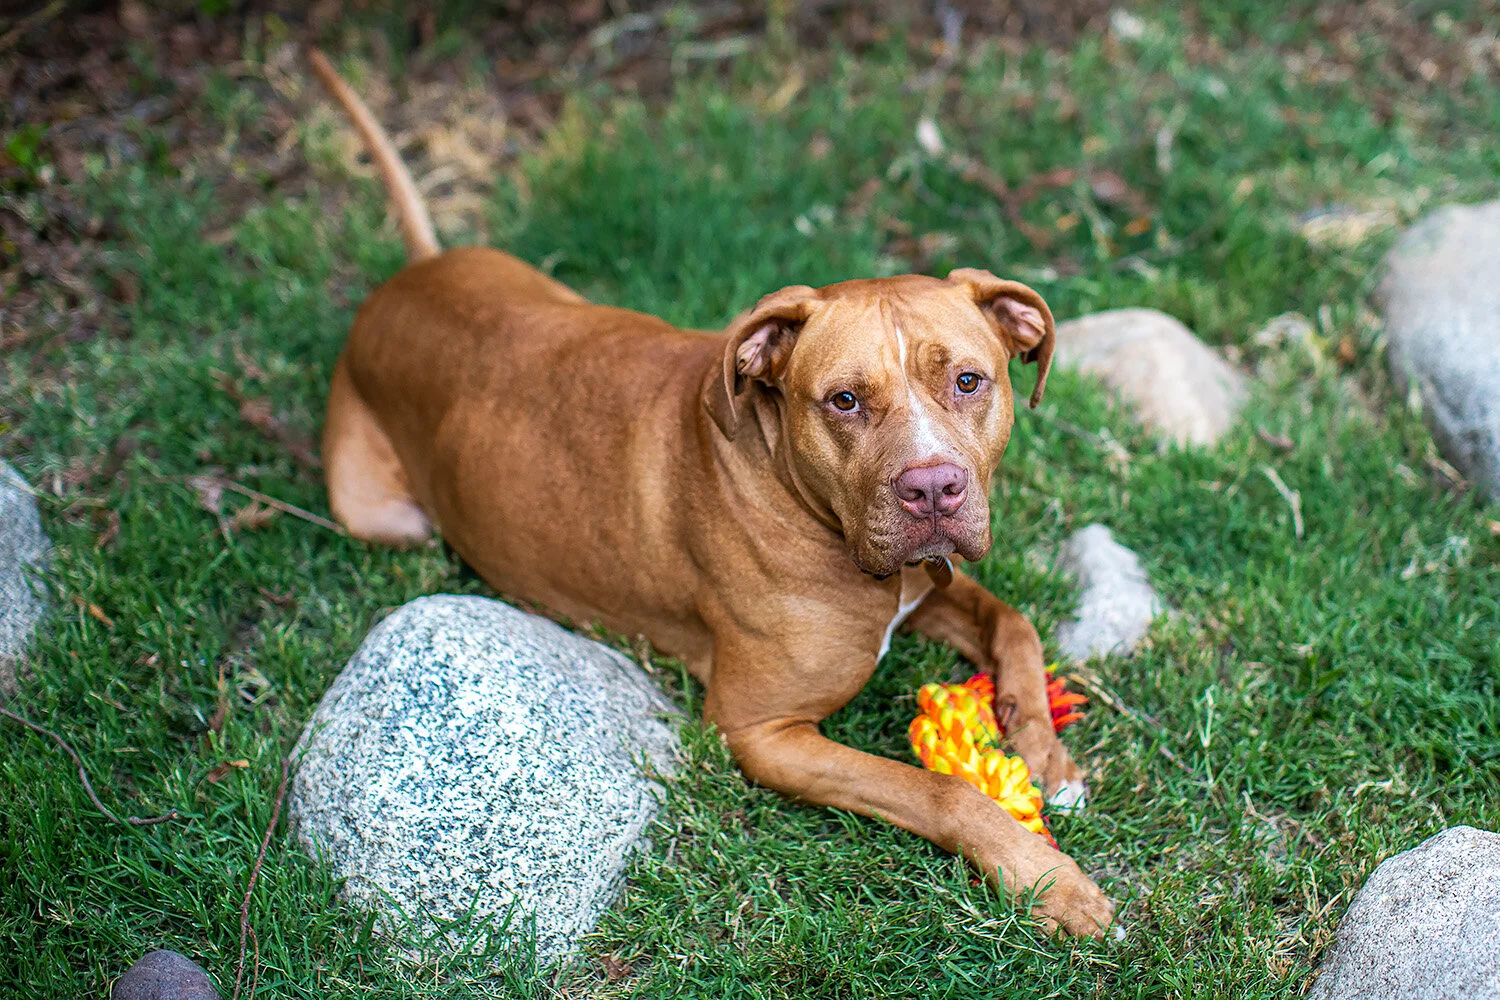
2. Shot at mid-level angle (crouching)
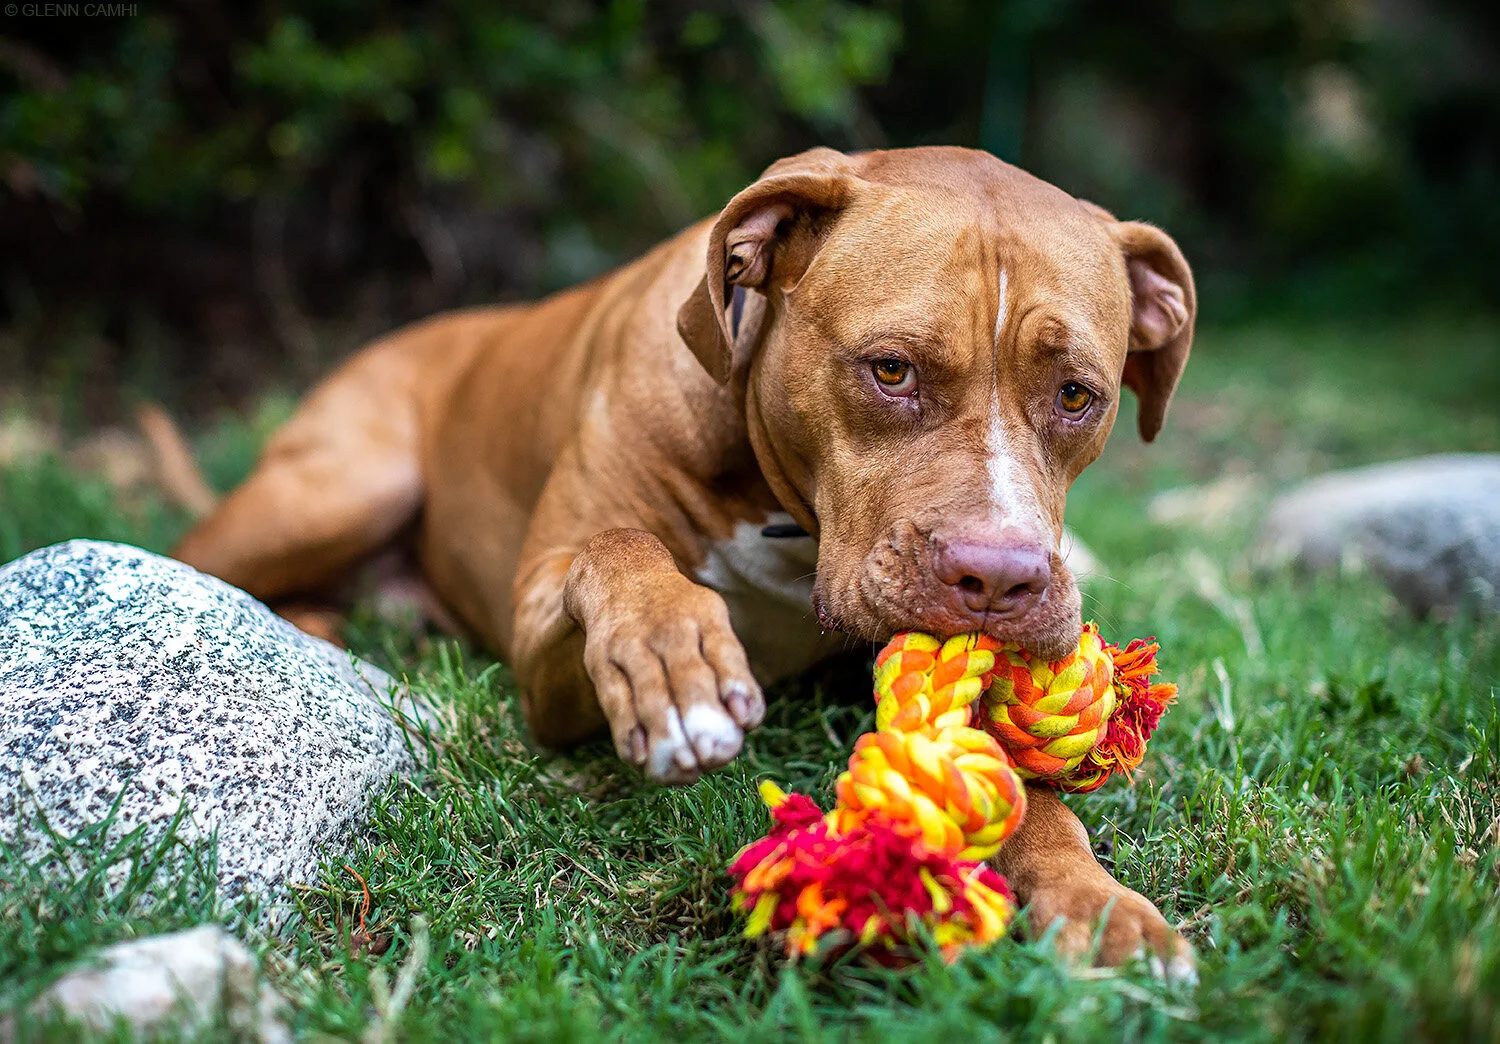
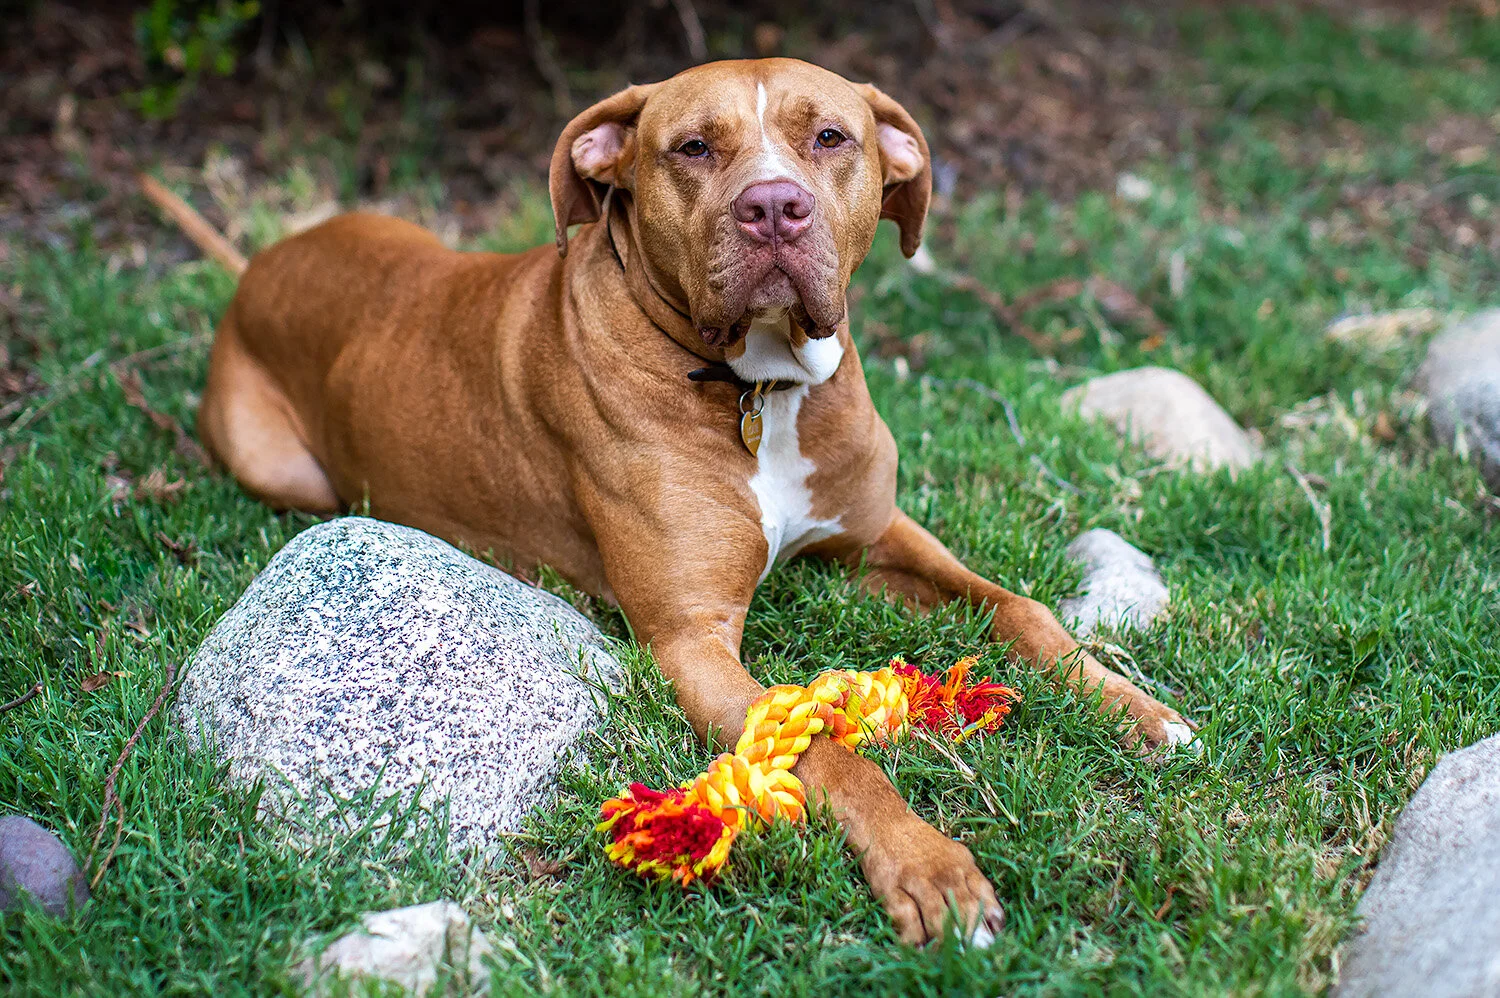
3. Shot at dog’s eye level (down on ground)
Three more…
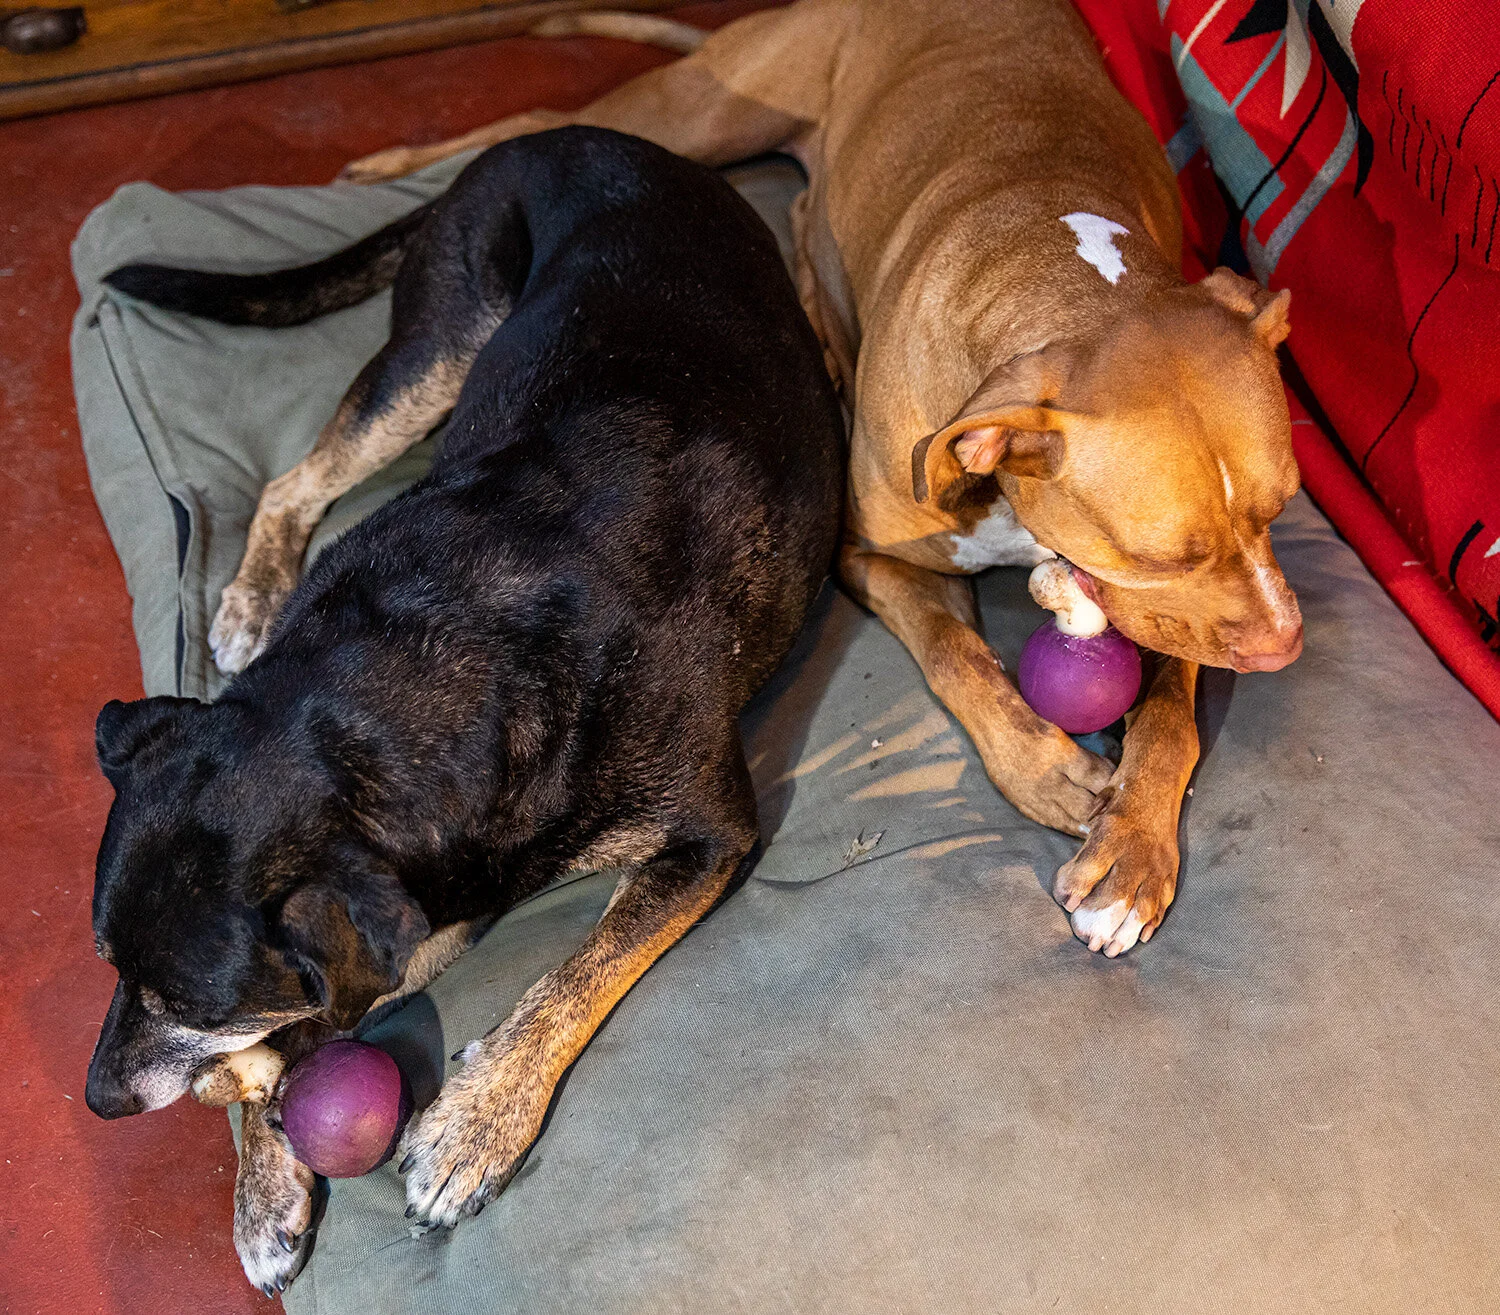
1. Shot at high angle (standing)
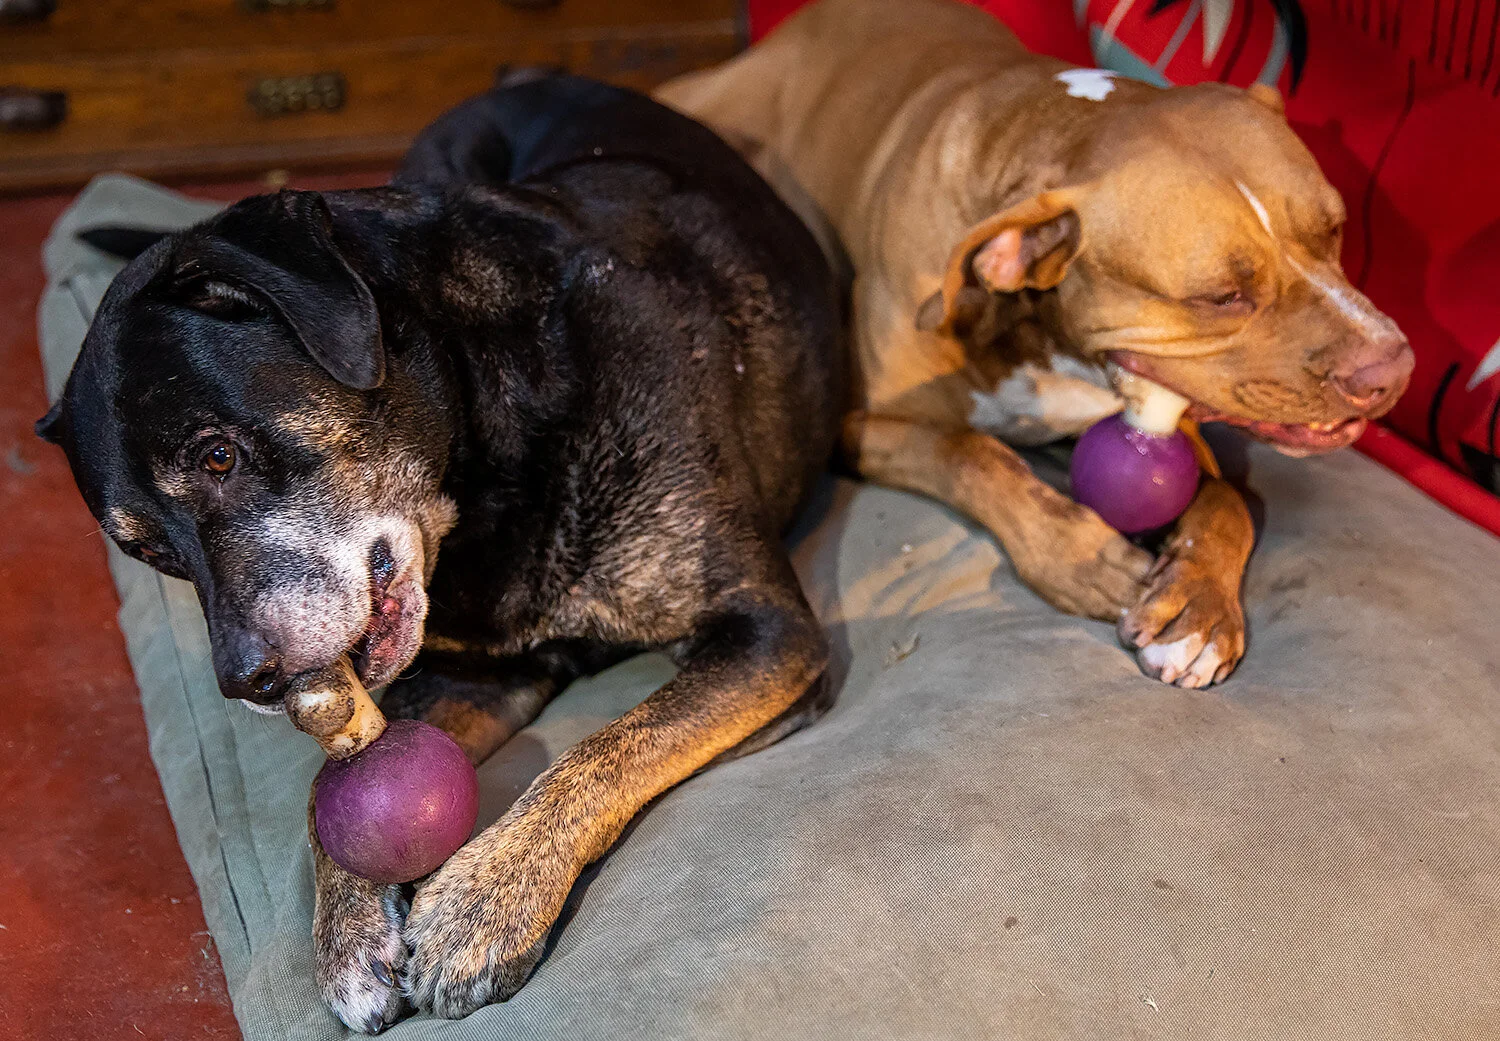
2. Shot at mid-level angle (crouching)
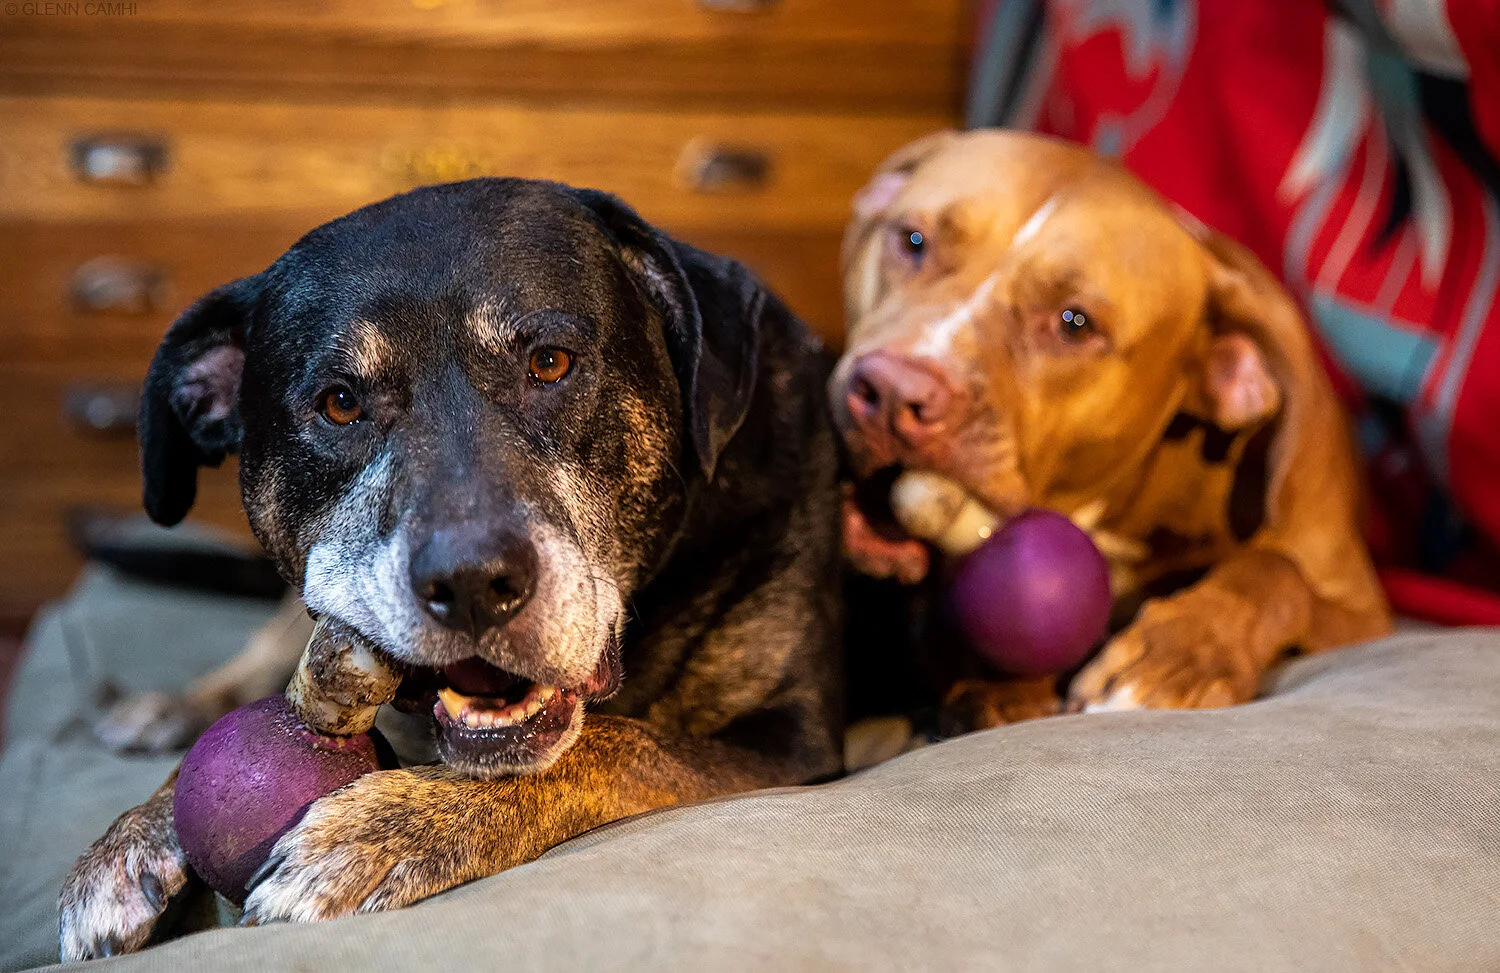
3. Shot at dog’s eye level (down on ground)